Landscaping After a New Patio: Fixing Grades & Finishing Touches
Just poured a new concrete patio and now have low spots or rough edges around it? Learn how to fix grading, improve drainage, and create a finished, attractive look.
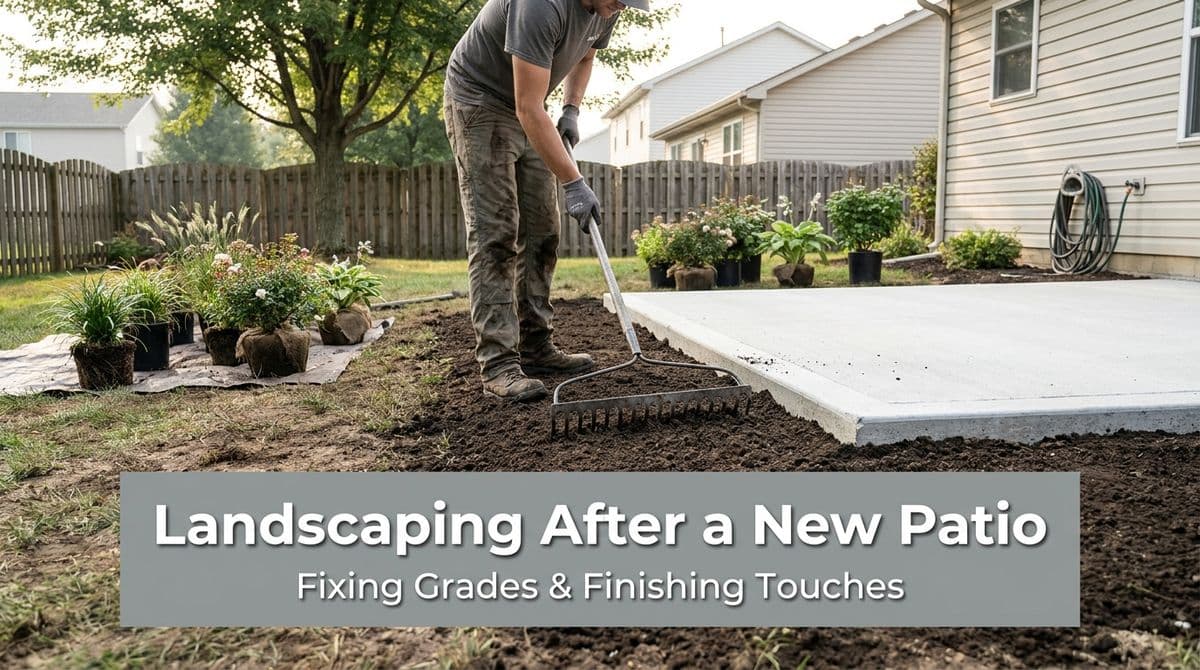
Landscaping After a New Patio: Fixing Low Spots and Finishing the Look
We recently got a call from a homeowner — let’s call him Mike — who was having a new concrete patio poured in his backyard. The concrete crew had set the slope correctly so water would run away from the house, but that created a new problem: once the forms came off, the area around the patio edge was sitting below the lawn grade. He told us, “The backyard’s a little bit of a mess right now, and I’m not sure if I need regrading, brick, a drainage area… I just don’t know what the options are.”
If you’ve just had a patio poured (or you’re about to) and now you’re staring at low spots, rough soil, or awkward step-downs from lawn to concrete, you’re not alone. This is one of the most common calls we get.
Why Grading Around Your Patio Really Matters
The concrete crew’s main job is to make sure the patio itself drains correctly. That usually means the slab is sloped slightly away from the house. But the soil and lawn around it need just as much attention.
Good grading around a patio helps with:
- Drainage and foundation protection – You want water running away from the house, not pooling against the foundation or under the patio.
- Preventing puddles and mud – Low spots beside the concrete will turn into mud pits after every rain.
- Trip safety and comfort – A clean transition from lawn or bed to patio edge is safer and more comfortable to walk across.
- Finished curb appeal – Right after a pour, patios often look “stuck on.” Proper landscaping makes them look intentional and integrated.
Common Grade Problems Around New Concrete Patios
When we walk a new patio with a homeowner like Mike, we usually see a few familiar issues:
1. Patio Edge Sits Below Lawn Grade
This is what Mike was dealing with. The lawn is higher, the new patio is lower, and you end up with a “bowl” or a sharp drop at the edge.
Typical symptoms:
- Water running off the lawn and collecting next to the patio.
- Exposed concrete edge that looks unfinished.
- Hard to mow; mower deck scalps the edge or can’t get close.
2. Patio Edge Sits Above Lawn Grade
Sometimes the opposite happens — the patio ends up a couple inches (or more) higher than the surrounding lawn.
Typical symptoms:
- A small “cliff” at the edge of the slab.
- People catch their toes stepping off the patio.
- Thin, struggling grass where soil has eroded away from the edge.
Main Options to Fix Grades and Finish the Look
When we meet homeowners on site, we usually walk through a menu of options. Often, the best solution is a combination of a couple of these.
Option 1: Regrading and Adding Topsoil
What it is: Bringing in soil to raise low areas or reshaping existing soil so it slopes smoothly away from the patio and house.
Pros:
- Creates proper drainage and solves most puddling issues.
- Lets you bring lawn right up to the patio edge for a clean, simple look.
- Usually the most “natural” appearance.
Cons:
- Requires enough space to maintain a gentle slope; tight yards can be tricky.
- New soil will settle over time and may need touch-ups.
- Grass seed or sod adds extra cost and care while it establishes.
Cost considerations: For a typical backyard patio, basic regrading with topsoil and new lawn can be on the lower end of the cost spectrum, but it depends heavily on access, how much soil is needed, and whether you choose seed or sod.
Option 2: Edging and Pavers Around the Perimeter
What it is: Installing a border of pavers, bricks, or concrete edging against the patio, then transitioning down to lawn or beds from there.
Pros:
- Gives the patio a high-end, finished frame.
- Helps manage small height differences between patio and lawn.
- Makes mowing and trimming easier with a hard border.
Cons:
- More labor and materials than simple soil and seed.
- Not a cure-all for major drainage problems; you still need proper grading.
- Cheaply installed edging can heave or shift over time.
Cost considerations: Expect higher costs than basic regrading, especially if you choose premium pavers or custom patterns. The upside is long-term durability and appearance.
Option 3: Decorative Rock or Mulch Beds
On our call with Mike, we mentioned rock or mulch with plants as a popular choice, and for good reason.
What it is: Creating a landscape bed along the patio edge, filled with decorative rock or mulch, sometimes with stepping stones or a border.
Pros:
- Visually softens the hard edge of the concrete.
- Great for hiding small grade changes and rough soil.
- Reduces the amount of lawn to mow right up against the slab.
Cons:
- Needs a good edge (plastic, steel, or paver) to keep rock or mulch in place.
- Mulch breaks down and needs to be refreshed every couple of years.
- Rock can be harder to change later if you decide on a new look.
Cost considerations: Mulch beds are often more budget-friendly up front; rock is more expensive initially but lasts much longer. Adding plants increases cost but also increases curb appeal.
Option 4: Adding Plantings
What it is: Incorporating shrubs, perennials, ornamental grasses, or even small trees along the patio edge.
Pros:
- Softens the concrete visually and makes the space feel more inviting.
- Can help disguise uneven grades or exposed concrete edges.
- Provides shade, privacy, and seasonal color.
Cons:
- Requires ongoing care: watering, pruning, and occasional replacement.
- Poor plant choices for the site (sun, shade, moisture) won’t thrive.
- Doesn’t fix drainage by itself; plants can actually struggle in wet spots.
Cost considerations: You can start small and add more over time. Larger shrubs and instant-impact plantings cost more up front but look “finished” right away.
Option 5: Drainage Features and Swales
In Mike’s case, he also asked about “a drainage area” if regrading alone wouldn’t cut it. When water has nowhere good to go, we start looking at drainage solutions.
What it is: Shaping a shallow swale (a gentle ditch), installing a French drain, or adding drain tile to move water away from the patio and foundation.
Pros:
- Addresses chronic wet areas that grading alone can’t solve.
- Helps protect your foundation and keep your patio stable.
- Can be blended into the landscape so it looks natural.
Cons:
- More complex planning and labor than simple soil work.
- Improperly installed drains can clog or fail.
- May require tying into existing drainage systems or outlets.
Cost considerations: Drainage work tends to cost more than basic regrading because of materials (pipe, fabric, rock) and labor. But if you have major water issues, it’s often the most important money you’ll spend.
When to Call a Landscaper for On-Site Help
If your yard looks anything like Mike’s did — rough soil, mismatched grades, and a brand-new slab sitting in the middle of it — an on-site visit can save you a lot of guesswork.
It’s worth bringing in a pro when:
- Water already pools near your house or patio after rain.
- The height difference between patio and lawn is more than a few inches.
- You’re considering multiple elements (beds, edging, pavers, drainage) and want them to work together.
- You’d like design ideas and material samples, not just “dirt work.”
During a typical visit, we walk the site with you, check slopes and drainage paths, talk through how you want to use the patio, and then recommend a mix of solutions—whether that’s simple regrading and grass, decorative rock and plants, or adding a drainage feature. The goal is the same every time: a patio that not only looks finished, but also sheds water the right way and feels like it’s always been part of your yard.